Most modern roofs are fitted with a drip edge. This takes the form of a long thin L-shaped metal strip that sits along the edge of your roofing.
The purpose of drip edge is to stop water running off your roof and trickling down the fascia (the walls) of your home, instead directing it into the gutter. This has many benefits as detailed below.
What are the benefits of drip edge on metal roofing?
A drip edge on a metal roof has many advantages. Adding a drip edge could…
Extend the life of your roof
Adding a drip edge to your metal roof could possibly extend the life of your roof. A drip edge encourages water to run off. It may even help ice and snow off your roof to slip off more easily. This can prevent your roof getting damaged over time – while modern metal roofs are suitably waterproof, the weight of snow or constant moisture may eventually cause damage to them over time.
Protect your home from water damage
A drip edge prevents water from trickling down the side of your home where it may cause moisture damage to the fascia. Constant water trickling down the side of your home may cause damage to brickwork. It may also cause wooden siding to warp and rot, even if it is well-treated. A drip edge can also be effective at preventing water from penetrating the gap between the fascia and the roof – this is a common place for leaks to occur in homes that don’t have a drip edge. All in all, it could help to prevent moisture damage and subsequent other issues like mold growth.
Reduce infestations from pests
The gap between the roof deck and fascia is a popular place for small wild animals to enter your home through. A drip edge helps to seal off this gap so that critters have a much harder time getting into your home. This could help to prevent animals like birds, wasps, spiders or bats from getting into your attic and nesting.
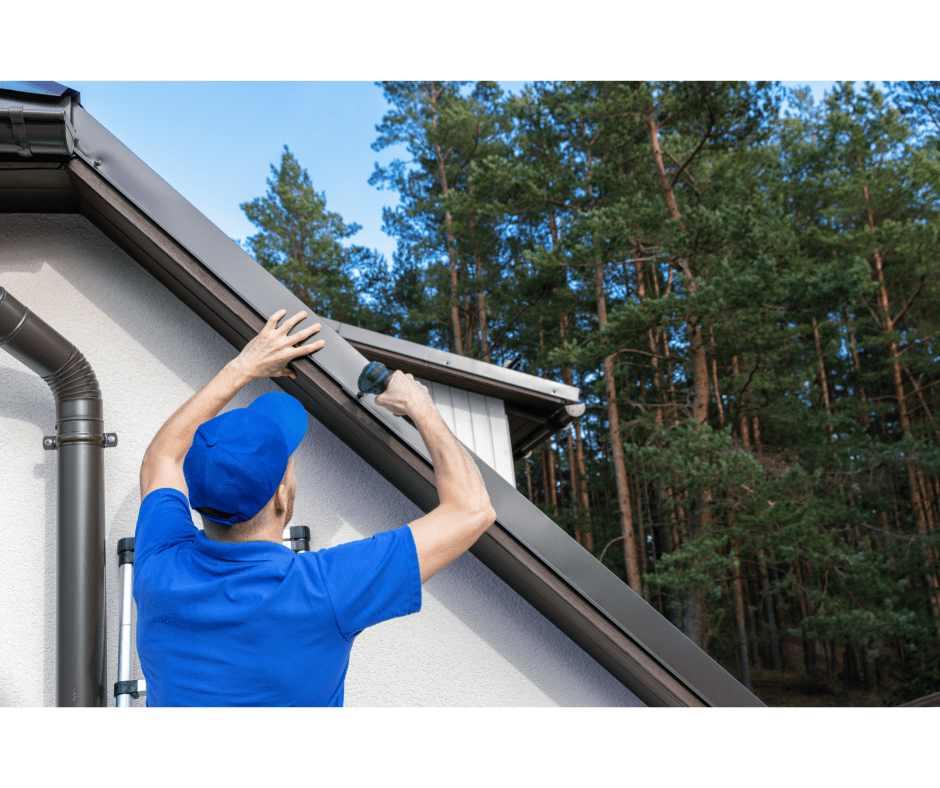
How to install drip edge on metal roofing
To install a drip edge around your roof, you need to first make sure that the roofing protrudes slightly from the fascia of your home. Most metal roofs will have some kind of overhang, but there may be some that don’t.
The idea is for the drip edge to direct water into a gutter pipe, so make sure you’ve also got a gutter running below your metal roof. This should ideally sit directly below the edge of the roof.
Metal drip edges can come in several different materials including aluminum, galvanized steel and copper. It makes sense to find a material that matches the material of your roof (in most cases this is steel).
Bear in mind that while most drip edges have a classic L shape, some have a slightly different flanged shaped that may be designed to direct water further away if the gutter is not directly below the edge of the roof.
Installing a drip edge is fairly straightforward. While some people prefer to hire a professional to do it, you can do it yourself without being too DIY savvy. Below is a simple step-by-step guide on how to install a drip edge:
Step 1
Start by measuring the edges of your roof. You can then work out exactly how much drip edge flashing you need. You can buy drip edge flashing in different lengths – in most cases 2 meters or 4 meters.
Step 2
Cut the drip edge to size. If you want to avoid having to do any metal cutting, consider looking into companies that sell drip edge flashing cut to your ideal dimensions
Step 3
Align the drip edge so that it sits evenly on the roof edge. It should hang directly into the gutter below. If it doesn’t line up, you may have to buy a new drip edge that extends out further or find a way of moving the gutter inwards.
Step 4
Once you are happy with the alignment, you can seal it onto the roof using roofing cement or attach it with nails. It depends on your local building code as to which is best (Florida requires you to use cement, but in most other states you can use nails to secure the drip edge). To make sure the drip edge is completely secure, you can even use a combination of cement and nails. Choose short nails that won’t protrude too far through the roof.